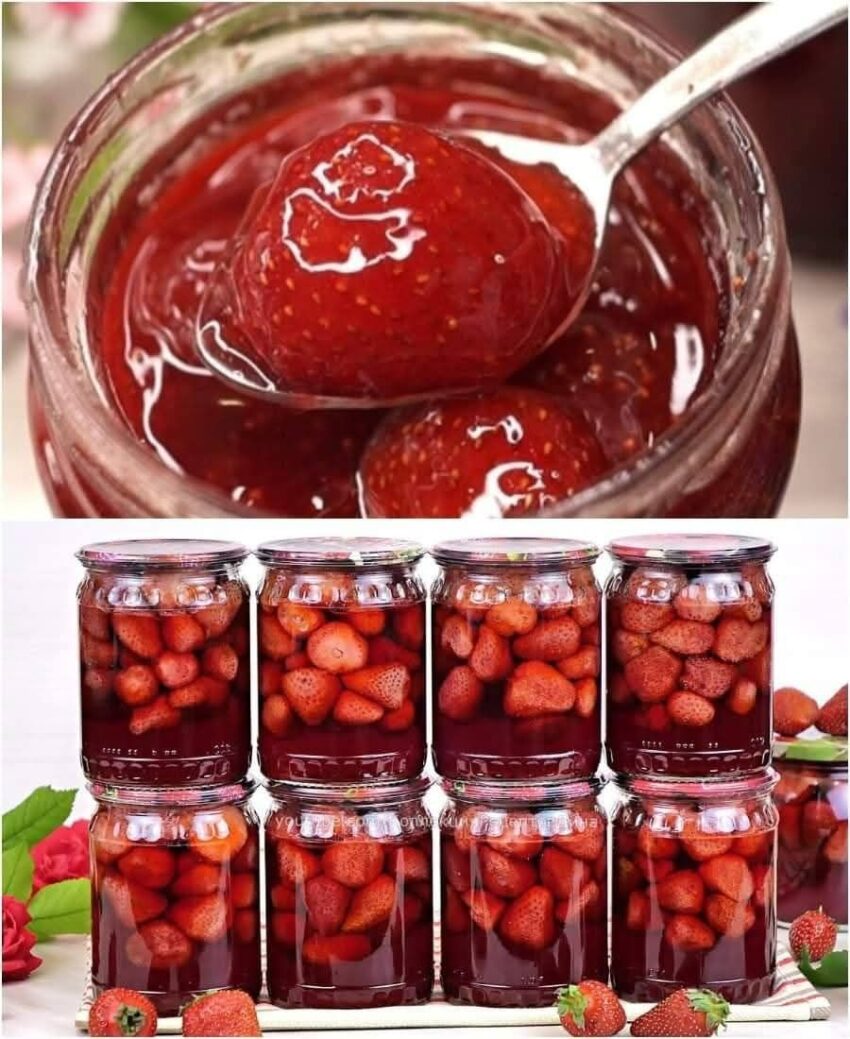
The Only Strawberry Jam Recipe
Ingredients:
-
4 cups fresh strawberries, hulled and chopped (about 1 1/2 pounds)
-
2 cups granulated sugar
-
1 tablespoon lemon juice (freshly squeezed)
-
1 teaspoon lemon zest (optional, for extra citrus flavor)
-
1/2 teaspoon unsalted butter (optional, to reduce foam during cooking)
-
Pectin (optional, if you want a firmer set—depending on your preference and the type of strawberries you’re using, you may or may not need it)
Equipment:
-
Large saucepan
-
Wooden spoon or spatula
-
Canning jars (with lids) or glass containers for storage
-
Canning funnel (optional but helpful)
-
Jar tongs (for safety if you’re canning)
Instructions:
1. Prepare the Strawberries:
-
Hull and chop the strawberries into small pieces. You can mash them lightly with a potato masher or a fork if you want a smoother jam, or leave them chunkier for a more textured jam.
2. Combine the Ingredients:
-
In a large saucepan, combine the chopped strawberries, granulated sugar, and lemon juice. If you’re using lemon zest, add it now as well. Stir to combine and let the mixture sit for about 10 minutes to allow the sugar to dissolve and the fruit to release its juices.
3. Cook the Jam:
-
Place the saucepan over medium-high heat and bring the mixture to a simmer. Once it starts to simmer, reduce the heat to medium and continue to cook, stirring frequently, for about 25-35 minutes.
-
If using butter, add it now to help reduce any foam that may form on top.
-
The jam will begin to thicken as it cooks. You can test the consistency by placing a small spoonful on a chilled plate. Let it cool for a minute, then run your finger through it. If the jam wrinkles and doesn’t immediately run back together, it’s ready. If not, cook it for a few more minutes and test again.
4. Optional Pectin (if needed):
-
If you want a firmer, set jam and your strawberries are a bit soft, you can add a low-sugar pectin or regular pectin as per the instructions on the package (typically added during the boiling phase, after the initial sugar and fruit have cooked down).
-
If you prefer a more natural jam and your strawberries are high in pectin, you may not need to add any extra.
5. Sterilize Your Jars:
-
While the jam is cooking, sterilize your canning jars. To do this, wash them in hot soapy water, then place the jars in the oven at 200°F (95°C) for 10 minutes. Alternatively, you can boil them in a large pot of water for about 10 minutes to sterilize.
6. Fill the Jars:
-
Once your jam is ready, remove it from the heat and let it cool for a few minutes. Carefully ladle the hot jam into your sterilized jars, leaving about 1/4 inch of space at the top.
-
Wipe the rims of the jars with a clean, damp cloth to remove any residue before sealing them with the lids.
7. Cool and Store:
-
Let the jars sit at room temperature for 12-24 hours to allow them to set. If you’re not canning the jam, it will keep in the fridge for about 2-3 weeks.
-
If you’re canning it, follow the water bath canning method: Place the sealed jars into a large pot of boiling water, ensuring the water covers the jars by at least an inch. Boil for about 10-15 minutes to properly seal the jars.
-
Once cooled, store the sealed jars in a cool, dark place for up to 1 year.
Tips for Success:
-
Use ripe, fresh strawberries: The riper the strawberries, the better the flavor of your jam! Frozen strawberries can work in a pinch, but fresh will give you the best taste.
-
Don’t rush the cooking process: Jam needs time to thicken and develop its rich, deep flavor. Be patient and let it simmer gently.
-
Avoid overcooking: If you cook the jam for too long, it can become too thick and resemble a jelly. If that happens, you can always use it as a fruit spread instead of a jam!
-
Adjust sweetness: If you like a sweeter jam, feel free to add a little more sugar, or try experimenting with a little honey for a different flavor profile.
-
Test consistency: Always test the consistency of your jam before sealing it in jars. If you want a looser jam, cook it for a shorter time. For a firmer jam, cook it longer, or use pectin.
Serving Suggestions:
-
Spread on toast, biscuits, or scones.
-
Add a dollop to your yogurt, oatmeal, or pancakes.
-
Use it as a filling for pastries or cakes.
-
Spoon it over cheese, such as brie or goat cheese, for a delightful appetizer.
Conclusion:
This Strawberry Jam recipe is the ultimate way to preserve the sweet taste of strawberries at their peak! It’s simple, natural, and packed with delicious, fresh strawberry flavor. Whether you’re making it for yourself or sharing it with loved ones, this jam will quickly become a favorite. Enjoy! Let me know how it turns out!