“Sourdough Geeks” isn’t a specific recipe I’m familiar with, but it could be a fun name for a super detailed, science-driven sourdough recipe. If you’re looking for a recipe with a bit of an advanced twist, or perhaps an in-depth method for sourdough enthusiasts, here’s a highly detailed sourdough bread recipe that might align with the “geeky” approach to sourdough baking, focusing on long fermentation and the science behind each step.
This version uses an overnight cold fermentation method for the best flavor development, and incorporates autolyse, stretch and folds, and the importance of precise timing and temperature. Let’s dive into the process:
Sourdough Geeks’ Ultimate Sourdough Bread Recipe
Ingredients:
For the Starter:
- 100g (1/2 cup) whole wheat flour
- 100g (1/2 cup) water (room temperature)
- A small pinch of salt (optional, for controlling fermentation)
For the Dough:
- 500g (about 4 cups) bread flour (or a mix of bread and all-purpose flour)
- 375g (1 1/2 cups) water (room temperature, 75°F or 24°C)
- 100g (1/2 cup) sourdough starter (active, bubbly, and fed at least 8 hours before use)
- 10g (1 1/2 teaspoons) salt
- 15g (1 tablespoon) diastatic malt powder (optional, but helps with fermentation)
The Method:
1. Prepare the Starter:
- Day 1:
- In the evening, mix 100g whole wheat flour and 100g water in a clean jar. Let it sit overnight at room temperature, loosely covered.
- The next morning, it should have started to bubble and smell a bit sour.
- Day 2:
- Discard about 50% of the mixture (keeping about 100g).
- Feed with 100g water and 100g white flour. Let this ferment for about 4-6 hours or until bubbly and active.
- This active starter is what you’ll use in the dough.
2. Autolyse (Pre-ferment Phase):
- In a large mixing bowl, combine 500g bread flour with 375g water.
- Mix until the flour is hydrated (don’t worry if it’s a little lumpy). Let this mixture rest for 30-60 minutes. This step, known as autolyse, allows the flour to fully absorb the water, making it easier to mix in the salt and starter and developing a more extensible dough.
3. Mixing the Dough:
- After the autolyse, add 100g of active sourdough starter and 10g salt to the dough.
- Use the stretch and fold technique to mix the dough. You’ll stretch the dough from one side of the bowl and fold it over itself. Continue this for 3-5 minutes until everything is incorporated.
- The dough should feel sticky but should hold together.
4. Bulk Fermentation & Stretch and Folds:
- Let the dough rest in a clean, lightly oiled bowl for the first round of fermentation.
- For the bulk fermentation, let the dough sit at room temperature (about 70°F or 21°C) for 4-6 hours.
- During this time, perform stretch and folds every 30 minutes for the first 2 hours. This helps develop the gluten. Afterward, let it sit undisturbed for the remaining time until it has nearly doubled in size.
5. Shaping:
- After the dough has doubled, turn it out onto a lightly floured surface.
- Gently deflate the dough and shape it into your preferred loaf shape—whether that’s a round boule or an oval bâtard.
- For a tighter, round shape, you can use the rounding technique, where you gently fold the edges of the dough into the center. For an oval shape, perform a batard fold (same method but elongated).
6. Cold Fermentation (Proofing Overnight):
- After shaping, place the dough in a proofing basket lined with a floured cloth or bowl. Cover it with a damp towel or plastic wrap.
- Let the dough rise at room temperature for about 1 hour, then transfer it to the fridge for 12-16 hours. This cold fermentation gives the bread its complex flavor and improves the texture.
7. Baking the Sourdough:
- Preheat your oven to 500°F (260°C) with a Dutch oven or baking stone inside for at least 30 minutes.
- Once your dough is ready, carefully flip it onto a piece of parchment paper. Score the top with a sharp razor or bread lame to allow the dough to expand as it bakes.
- Carefully transfer the dough to the preheated Dutch oven. Cover with the lid.
- Bake at 500°F (260°C) for 20 minutes with the lid on. This traps steam, which is essential for developing a crispy crust.
- After 20 minutes, lower the temperature to 450°F (230°C) and continue baking for 25-30 minutes, or until the crust is golden and the internal temperature of the bread reaches 200°F (93°C).
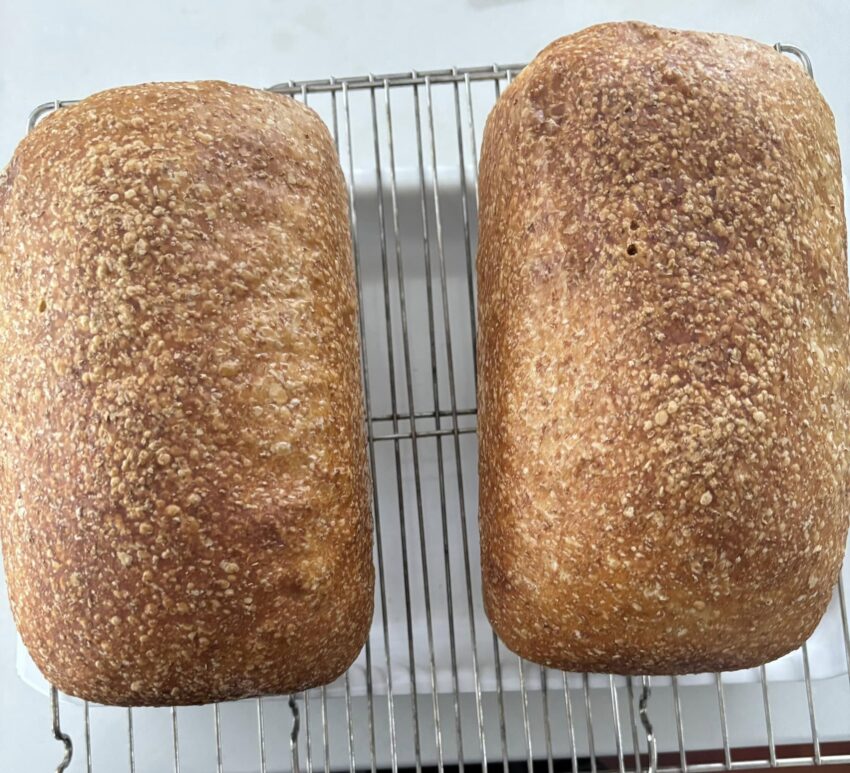
8. Cooling:
- Once the bread is baked, remove it from the oven and let it cool completely on a wire rack. Don’t cut it right away—let the crumb set for at least an hour for the best texture.
Key Geeky Tips:
- Hydration Levels: The more water you use (within reason), the more open and airy your crumb will be. Sourdough geeks love playing with hydration levels to create that perfect crumb. Feel free to adjust the water by 5-10% depending on your flour and environment.
- Starter Health: A healthy, well-fed starter is the key to great sourdough. If it’s not doubling in size after a feeding, it’s not ready for baking.
- Temperature Control: For consistent results, consider investing in a thermometer to keep track of your dough’s temperature during fermentation, especially if you’re trying to keep a particular rise speed.
- Steam in the Oven: Creating steam in the first 20 minutes of baking is a crucial step for sourdough bread, as it helps form a crisp, golden crust. You can also add a tray of water or use a pan of boiling water at the bottom of your oven for added steam.
- Fermentation Time: Longer fermentation = more flavor. If you’re trying to get that rich, tangy flavor, don’t rush the process! The slow fermentation process, especially in cold conditions, will yield the best results.
If you follow these steps carefully, your Sourdough Geeks loaf should have an amazing tangy flavor, chewy texture, and crisp, golden crust that any sourdough lover will appreciate. Enjoy! Let me know if you need any more sourdough tips or adjustments!