Country Bread Recipe
Ingredients:
-
3 1/2 cups all-purpose flour (you can substitute 1 cup with whole wheat flour for a heartier bread)
-
1 1/2 tsp salt
-
1 tsp sugar (optional, helps feed the yeast)
-
1 packet (2 1/4 tsp) active dry yeast or instant yeast
-
1 1/4 cups warm water (110°F / 43°C, not too hot or it will kill the yeast)
-
2 tbsp olive oil (optional, for a softer crumb)
-
1/4 cup whole milk (optional, for a slightly richer flavor)
-
Cornmeal (for dusting)
Instructions:
-
Activate the Yeast:
-
In a small bowl, mix the warm water and sugar. Sprinkle the yeast over the top and stir lightly. Let it sit for 5-10 minutes until it becomes foamy. If it doesn’t foam, the yeast may be expired, and you’ll need to try again with fresh yeast.
-
-
Mix the Dough:
-
In a large mixing bowl, combine the flour and salt. Make a well in the center.
-
Pour the yeast mixture into the well along with the olive oil (if using) and milk (if using).
-
Stir with a wooden spoon or your hands until the dough comes together. If it feels too sticky, add a little extra flour, 1 tbsp at a time. If it’s too dry, add a splash of water.
-
-
Knead the Dough:
-
Transfer the dough onto a floured surface. Knead for 8-10 minutes until the dough is smooth and elastic. If you’re using a stand mixer, you can knead it with the dough hook on low speed for about 5 minutes.
-
You can test if the dough is ready by performing the “windowpane test” — stretch a small piece of dough between your fingers. If it forms a thin, translucent membrane without breaking, it’s ready.
-
-
First Rise (Bulk Fermentation):
-
Lightly oil a large bowl and place your dough in it, turning it once to coat it with oil.
-
Cover the bowl with a clean kitchen towel or plastic wrap, and place it in a warm spot to rise for 1-1.5 hours, or until it has doubled in size.
-
-
Shape the Dough:
-
Once the dough has risen, gently punch it down to release the air. Turn it out onto a floured surface.
-
Shape it into a round or oval loaf (depending on your preference). You can shape it by folding the dough over itself and pinching the seams together.
-
If you want a more rustic look, you can leave the loaf as a rough round, or if you’re using a banneton or bread pan, place the dough into the mold.
-
-
Second Rise (Proofing):
-
Place your shaped dough onto a baking sheet lined with parchment paper or dusted with cornmeal. Cover it loosely with a cloth.
-
Let it rise for another 45 minutes to 1 hour, until puffed up.
-
-
Preheat the Oven:
-
While the dough is rising, preheat your oven to 450°F (230°C). Place an empty baking pan (like a rimmed sheet pan) on the bottom rack of the oven to create steam, which helps the bread form a beautiful crust.
-
-
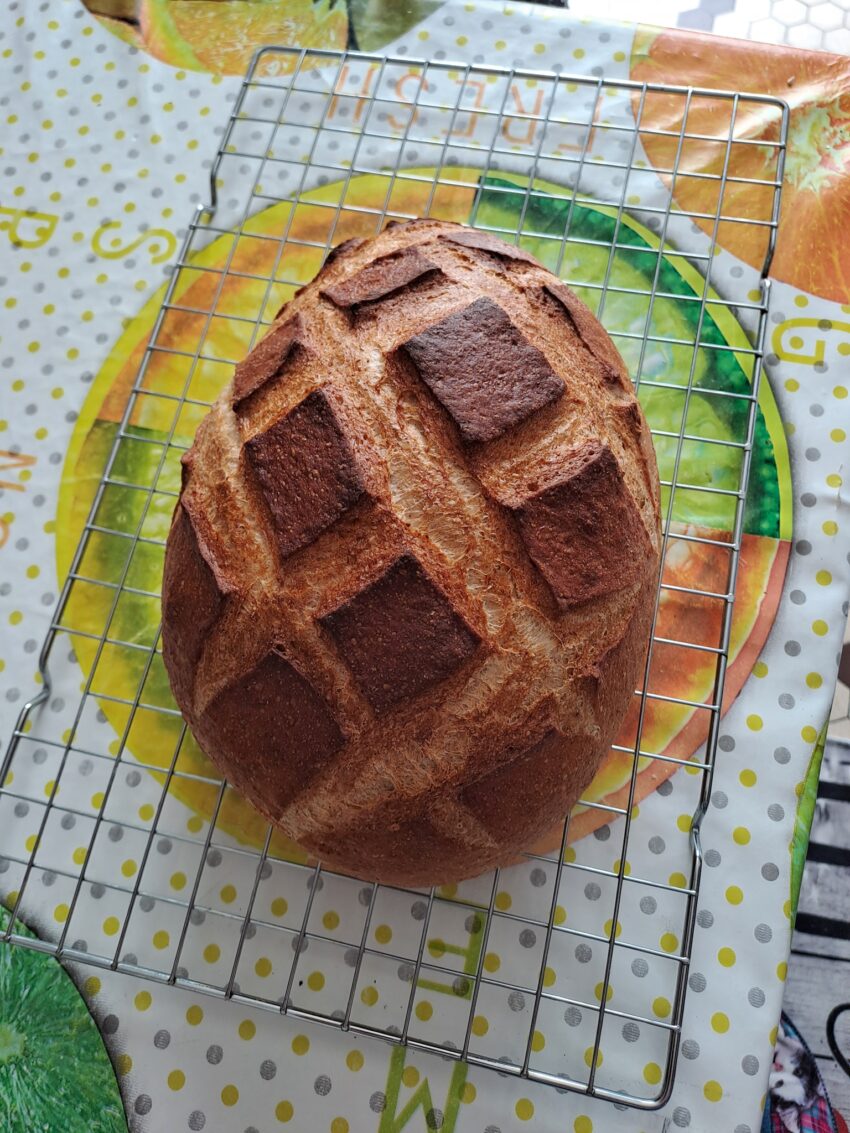
Score the Dough:
-
Just before baking, use a sharp knife or bread lame to score the top of the dough in a criss-cross or single line pattern. This will help the bread expand evenly as it bakes.
-
-
Bake the Bread:
-
Place the bread in the preheated oven and pour a cup of hot water into the preheated baking pan (be careful of the steam). This creates a steam bath that helps the crust form beautifully.
-
Bake the bread for 30-35 minutes or until it sounds hollow when tapped on the bottom. If you have a thermometer, the internal temperature of the bread should reach about 200°F (93°C).
-
-
Cool the Bread:
-
Remove the bread from the oven and let it cool on a wire rack for at least 30 minutes before slicing. This ensures the crumb sets properly and doesn’t become doughy.
-
Storage:
-
Keep the bread wrapped in a kitchen towel or in a paper bag at room temperature for up to 3 days.
-
You can also freeze the bread for up to 3 months. Just slice it before freezing, and toast or warm slices as needed.
Tips for Success:
-
Use a Dutch oven for a crispy crust: If you have a Dutch oven, preheat it in the oven and bake the bread inside for the first 20 minutes. This traps steam and helps develop a crispier crust.
-
Add herbs or seeds: Feel free to mix in fresh herbs like rosemary or thyme into the dough for added flavor, or top the loaf with sesame seeds or oats before baking.
-
For extra flavor: You can allow the dough to rise slowly in the fridge overnight, which will deepen the flavor of the bread.
This Country Bread is the perfect addition to any meal — whether it’s served with soups, used for sandwiches, or just eaten with butter. It’s rustic, simple, and incredibly satisfying. Enjoy baking! Let me know if you have any questions or need more tips.