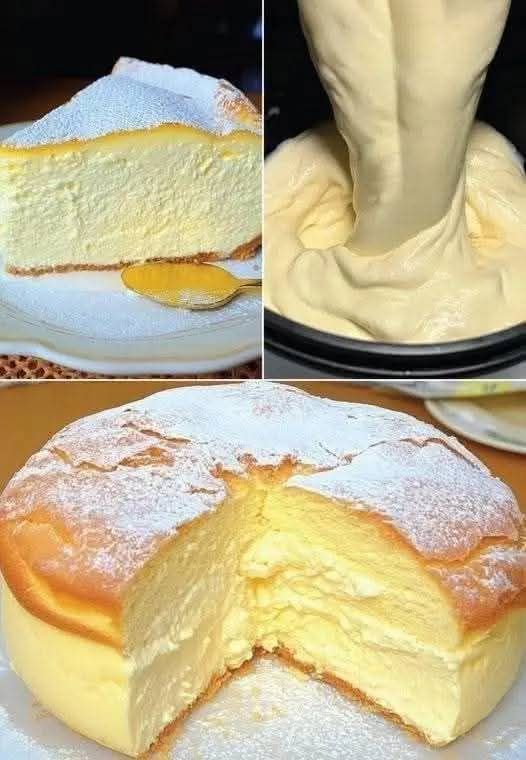
Cloud Cake is a light, fluffy, and airy dessert that practically melts in your mouth! It’s often made with layers of meringue, cream, and sometimes fruit, creating a cake that has a cloud-like texture. Here’s a simple and delicious recipe to make your own Cloud Cake.
Cloud Cake Recipe
Ingredients:
For the Meringue Layers:
- 4 large egg whites (room temperature)
- 1 cup granulated sugar
- 1/2 teaspoon vanilla extract
- 1/4 teaspoon cream of tartar (optional, but helps stabilize the meringue)
- A pinch of salt
For the Filling:
- 2 cups heavy cream
- 1/2 cup powdered sugar
- 1 teaspoon vanilla extract
For the Topping (Optional):
- Fresh berries (strawberries, blueberries, raspberries, etc.)
- A sprinkle of powdered sugar for garnish
Instructions:
1. Preheat the Oven:
- Preheat your oven to 275°F (135°C). Line two 9-inch round cake pans with parchment paper. You can also trace the bottom of the pans on the parchment paper to fit them perfectly.
2. Make the Meringue:
- In a large mixing bowl, whisk the egg whites and cream of tartar (if using) on medium speed using an electric mixer until soft peaks form.
- Gradually add the granulated sugar, a tablespoon at a time, while continuing to beat on high speed. This process will take about 5-7 minutes.
- Continue beating until stiff peaks form and the meringue is glossy and holds its shape. Add the vanilla extract and a pinch of salt, then mix to combine.
3. Bake the Meringue:
- Divide the meringue evenly between the two cake pans and spread it out into an even layer.
- Bake for 1 hour at 275°F (135°C) until the meringue layers are crisp on the outside but still soft and marshmallow-like on the inside. The meringue should be golden at the edges.
- Turn off the oven and let the meringue cool completely in the oven with the door slightly ajar (about 30 minutes). This helps prevent cracking from sudden temperature changes.
4. Whip the Cream:
- While the meringue is cooling, whip the heavy cream with powdered sugar and vanilla extract in a chilled bowl until soft peaks form.
5. Assemble the Cloud Cake:
- Once the meringue layers have cooled completely, carefully remove them from the pans and peel off the parchment paper.
- Place one meringue layer on a serving platter or cake stand.
- Spread a generous amount of whipped cream on top of the first layer, smoothing it out with a spatula.
- Place the second meringue layer on top of the whipped cream and gently press down to sandwich them together.
6. Decorate:
- Spread any remaining whipped cream on top of the cake.
- Decorate with fresh berries, or a dusting of powdered sugar for a simple, elegant finish.
Tips for a Perfect Cloud Cake:
- Egg Whites: Make sure your mixing bowl and beaters are completely clean and free from grease or any trace of egg yolks, as fat can prevent the egg whites from whipping properly.
- Baking Time: The meringue should be crisp and dry on the outside but slightly marshmallow-like in the center. If it’s still gooey inside after baking, let it cool in the oven for a little longer.
- Layering: Be gentle when assembling the cake, as the meringue is fragile and can break easily.
- Fruit Variations: You can also mix in or layer fruit such as sliced bananas, kiwi, or peaches along with the whipped cream for extra flavor and color.
This Cloud Cake is light, airy, and incredibly satisfying, with a perfect balance of meringue sweetness and creamy richness. It’s a showstopper for parties, a special dessert for any occasion, or just a sweet treat to enjoy! Let me know if you need any adjustments or extra tips for this recipe.