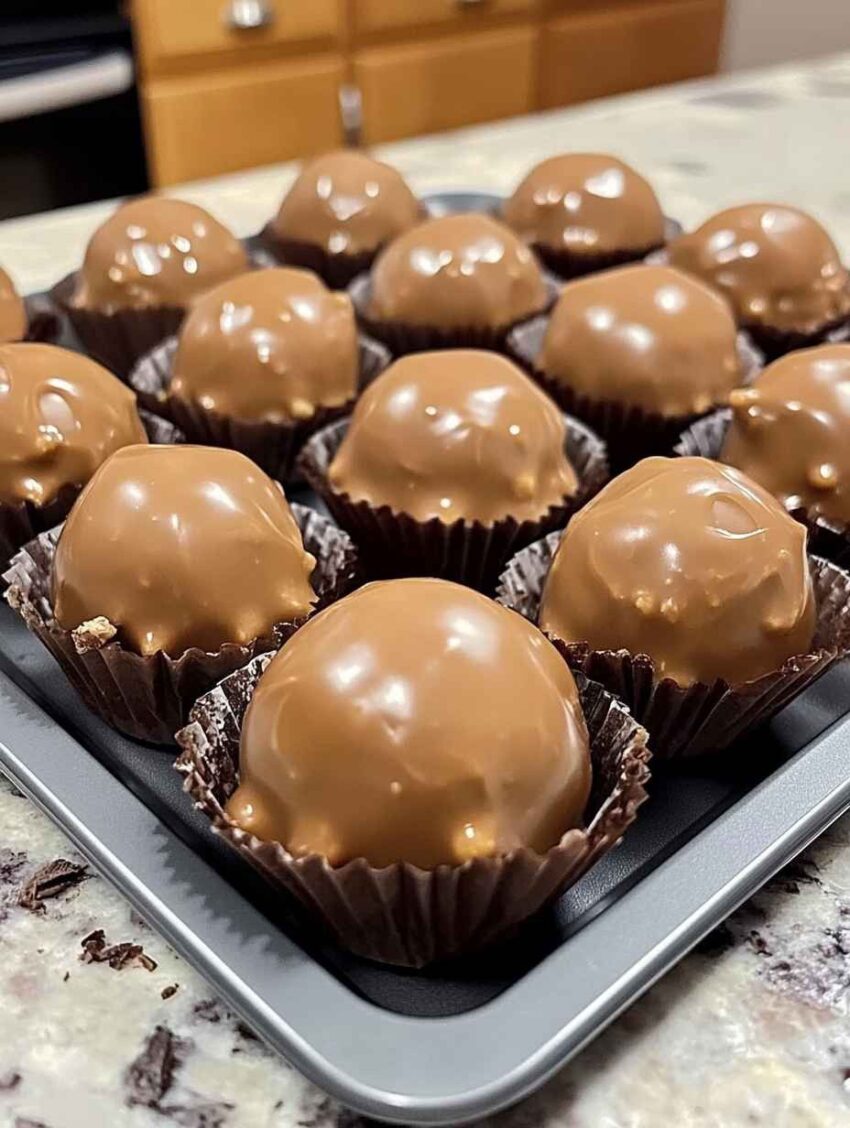
Butterfinger Balls
Ingredients:
- 1 (10 oz) package Butterfinger candy bars (about 4-5 bars)
- 1 cup powdered sugar
- 1/2 cup creamy peanut butter
- 1/4 cup unsalted butter, softened
- 2 cups graham cracker crumbs
- 1 teaspoon vanilla extract
- 1 1/2 cups chocolate chips (milk, semi-sweet, or dark, your choice)
- 2 teaspoons vegetable oil (for melting the chocolate)
Instructions:
1. Prepare the Butterfinger Filling:
-
Crush the Butterfingers: Unwrap the Butterfinger candy bars and break them into smaller pieces. You can crush them by hand or place them in a Ziploc bag and use a rolling pin to crush them into small pieces or crumbs.
-
Mix the filling: In a large mixing bowl, combine the crushed Butterfinger pieces, powdered sugar, peanut butter, softened butter, graham cracker crumbs, and vanilla extract. Use a spatula or your hands to mix everything together until the mixture is fully combined and dough-like.
-
Form the balls: Scoop out tablespoon-sized portions of the mixture and roll them into balls using your hands. You should be able to make about 20-24 balls, depending on size. Place each ball on a parchment-lined baking sheet or plate.
2. Coat the Balls with Chocolate:
-
Melt the chocolate: In a microwave-safe bowl, melt the chocolate chips and vegetable oil together. Microwave in 30-second intervals, stirring in between, until the chocolate is completely smooth and melted.
-
Dip the balls: Using a fork or toothpick, dip each Butterfinger ball into the melted chocolate, ensuring it’s fully coated. Gently tap the fork on the edge of the bowl to remove any excess chocolate.
-
Place on parchment paper: Return the dipped balls to the parchment-lined baking sheet. If you have any leftover melted chocolate, you can drizzle it over the top of the balls for a decorative touch.
3. Chill and Set:
-
Chill: Place the chocolate-coated Butterfinger balls in the refrigerator for about 30 minutes, or until the chocolate is set and firm.
-
Serve: Once the chocolate is set, your Butterfinger balls are ready to enjoy! Serve immediately, or store them in an airtight container in the fridge for up to a week.
Tips:
- Add-ins: Feel free to add a pinch of sea salt on top of the chocolate before it hardens for a sweet and salty contrast.
- Vegan option: For a dairy-free version, you can use dairy-free chocolate and peanut butter, and swap the graham cracker crumbs for a vegan-friendly alternative.
- Storage: These balls store well in the fridge and can also be frozen. Just layer them with parchment paper in an airtight container to avoid sticking.
These Butterfinger Balls are a rich, crunchy, and creamy treat that’s perfect for satisfying your sweet tooth. They’re simple to make, and you can even get the kids involved in rolling the balls! Enjoy!