Here’s how to make Butterfinger Balls:
Butterfinger Balls Recipe
Ingredients:
- 1 (10 oz) package of Butterfinger candy bars (about 6-8 bars)
- 1 cup creamy peanut butter
- 1 1/2 cups powdered sugar
- 2 cups graham cracker crumbs (or crushed graham crackers)
- 1/2 cup unsalted butter (melted)
- 1 1/2 cups chocolate chips (milk or semi-sweet, your choice)
- 1 tbsp vegetable oil or coconut oil (for smooth chocolate coating)
Instructions:
1. Prepare the Butterfinger Filling:
-
Crush the Butterfingers: Unwrap the Butterfinger candy bars and break them into small pieces. You can either chop them with a knife or place them in a plastic bag and crush them with a rolling pin. The goal is to have a mix of small and slightly larger pieces for texture.
-
Mix the filling: In a large mixing bowl, combine the crushed Butterfinger pieces, peanut butter, powdered sugar, graham cracker crumbs, and melted butter. Stir everything together until the mixture is smooth and thick. The dough should be firm enough to roll into balls but still soft enough to easily shape.
2. Form the Balls:
-
Shape into balls: Use your hands to roll the mixture into small balls, about 1 inch in diameter. Place each ball on a baking sheet lined with wax paper or parchment paper. If the mixture gets too sticky, you can chill it in the refrigerator for about 10-15 minutes to make it easier to handle.
-
Chill the balls: Once all the balls are shaped, place the baking sheet in the fridge and chill for at least 30 minutes. This helps the balls firm up and makes dipping them in chocolate easier.
3. Dip in Chocolate:
-
Melt the chocolate: In a microwave-safe bowl, melt the chocolate chips and vegetable oil (or coconut oil) together. Microwave in 30-second intervals, stirring in between, until the chocolate is smooth and fully melted.
-
Dip the balls: Using a fork or toothpick, dip each chilled ball into the melted chocolate, coating it completely. Let the excess chocolate drip off before placing the ball back onto the parchment-lined baking sheet.
-
Cool the chocolate: Once all the balls are coated, place them in the fridge to chill again for about 30 minutes or until the chocolate has set and hardened.
4. Serve and Enjoy:
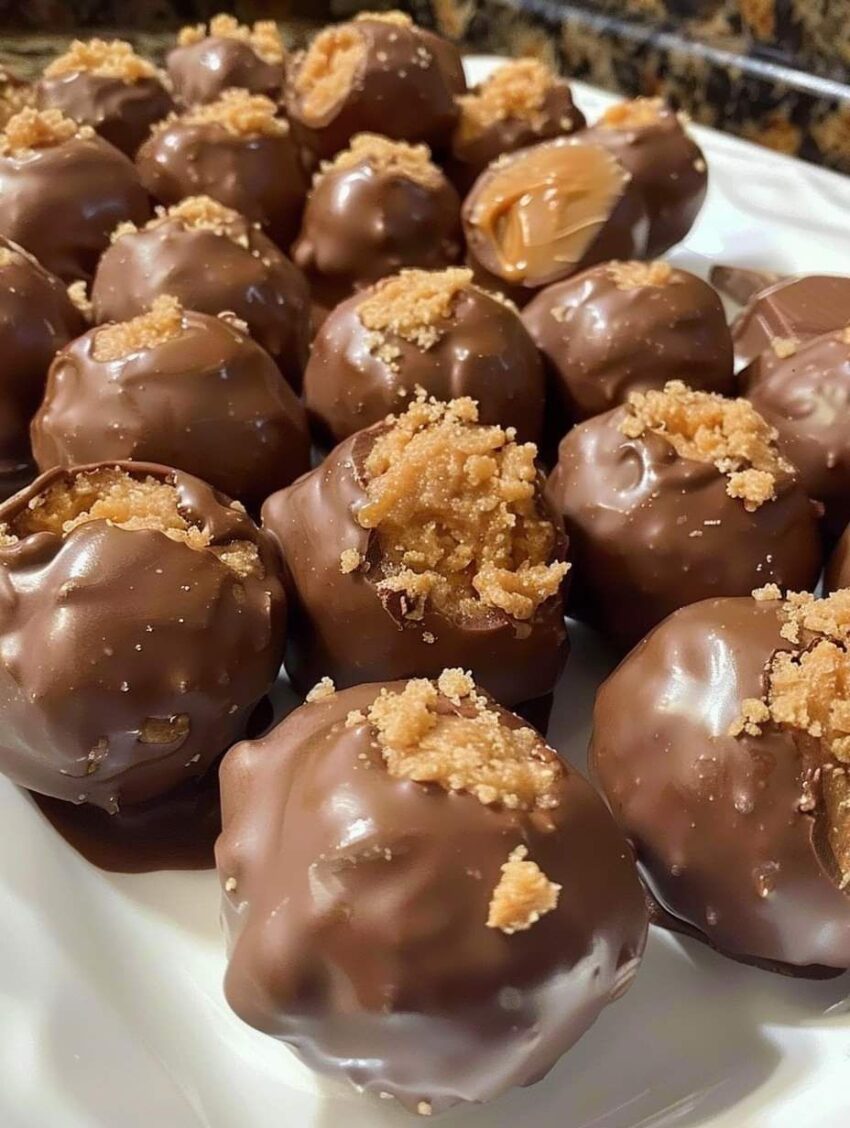
Once the chocolate is firm, your Butterfinger Balls are ready to serve! These treats are deliciously crunchy on the inside and smooth on the outside.
Tips and Variations:
- For a smoother coating: If you want a thinner, more even chocolate coating, you can drizzle the chocolate over the balls instead of dipping them.
- Use other chocolate: You can use white chocolate or dark chocolate instead of milk chocolate for a different flavor profile.
- Flavor twist: Add a pinch of sea salt on top of each ball before the chocolate sets for a sweet-and-salty flavor combo.
- Make them festive: You can roll the balls in sprinkles, chopped nuts, or crushed candies for added texture and color.
- Storage: Keep the Butterfinger Balls in an airtight container in the fridge. They’ll last up to 2 weeks, or you can freeze them for up to 3 months!
These Butterfinger Balls are the ultimate indulgence for fans of the iconic candy bar. They’re so simple to make, and the end result is a crowd-pleasing treat that’s hard to resist! Enjoy!