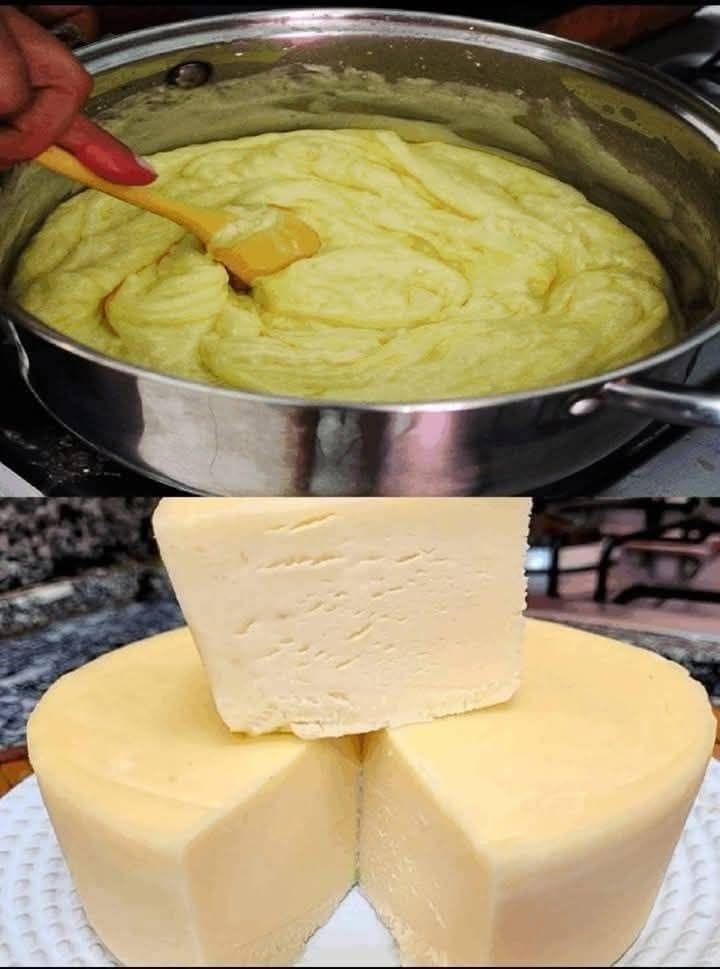
Making homemade cheese can be a fun and rewarding process, and it doesn’t require too many ingredients or fancy equipment. Here’s a simple recipe for making Homemade Fresh Cheese (also called “Farmer’s Cheese” or “Paneer”). This cheese is soft, crumbly, and perfect for spreading on bread, crumbling over salads, or adding to dishes like tacos or curries.
Homemade Fresh Cheese
Ingredients:
- 1 gallon (4 liters) whole milk (not ultra-pasteurized)
- 1/4 cup white vinegar or fresh lemon juice
- 1 teaspoon salt (adjust to taste)
Instructions:
1. Heat the Milk:
- Pour the milk into a large pot and slowly heat it over medium heat. Stir occasionally to prevent the milk from burning or sticking to the bottom of the pot.
- Heat the milk until it begins to simmer, around 190°F (88°C). Do not let it boil, as this can cause the milk proteins to curdle prematurely.
2. Add the Acid:
- Once the milk is heated, add the vinegar or lemon juice. Stir gently to mix. The milk will begin to curdle, and you’ll see curds (solid white clumps) separate from the whey (the liquid).
- Let the milk sit for about 5-10 minutes to fully curdle.
3. Strain the Curds:
- Place a fine mesh strainer or cheesecloth over a large bowl or pot to catch the whey.
- Gently pour the curdled milk into the strainer, allowing the liquid (whey) to drain out. You can save the whey for use in smoothies or soups, as it’s packed with nutrients.
- If using cheesecloth, gather the corners and tie it to form a pouch around the curds.
4. Drain and Press:
- Let the curds drain for about 10 minutes. If you want a firmer cheese, you can press the curds gently to remove excess whey. For this, place a weight or a can on top of the cheesecloth pouch.
- For a creamier cheese, you can skip pressing it and let it remain slightly moist.
5. Season and Shape:
- Once you’ve drained the cheese, transfer it into a bowl. Add salt to taste, mixing it gently into the curds.
- If you’d like, you can shape the cheese into a ball or a block by pressing it into a mold or container.
6. Chill and Serve:
- To firm up the cheese further, you can place it in the refrigerator for an hour or two. However, it can be eaten fresh, at room temperature, if you prefer.
- Serve your fresh homemade cheese immediately on bread, in salads, or cooked in a dish like scrambled eggs or curry!
Tips:
- Milk: Fresh, whole milk works best for this recipe. Avoid using milk that has been ultra-pasteurized, as it doesn’t curdle well.
- Acid: You can use lemon juice or vinegar to curdle the milk. If you want a milder flavor, lemon juice may be preferable.
- Flavor Variations: After draining, you can experiment by adding herbs (like chives, garlic, or dill), or spices (like cumin or paprika) for different flavor profiles.
- Storage: Store your homemade cheese in an airtight container in the fridge for up to 5 days. It’s best to consume it fresh, but it can last a bit longer if kept sealed.
This simple and homemade fresh cheese can be a great introduction to cheesemaking, and it’s so versatile in the kitchen. Plus, it’s a great way to impress guests with your own creations! Enjoy your homemade cheese in a variety of dishes or simply with crackers!